Before you upload a recipe, you must have user credentials in WordPress created by OCM. Once those are created, you will have the tools to upload a recipe.
1. Locate your recipe document (\\akffile01\projects\2019 ODFO Project Tracking\Diet Corner ‘Kidney Kitchen’\Kidney Kitchen Content\Recipes). This document should have already gone through an external review (i.e., nutritionist and culinary expert) followed by an internal review (i.e., designated AKF staff member) before you begin. It should have comments throughout the entire document. You will copy the relevant information to the appropriate sections below.
2. Log on to WordPress.
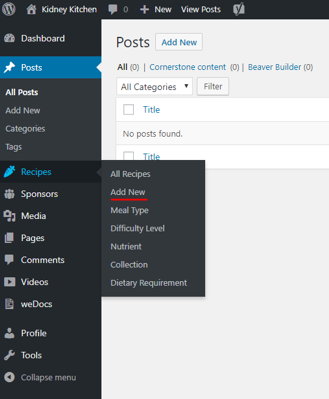
3. Hover over the ‘Recipes’ side tab in the side bar and then click on “Add New”.
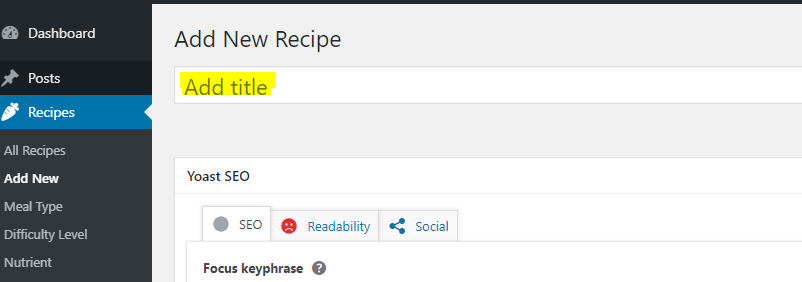
4. Enter the title of the recipe.
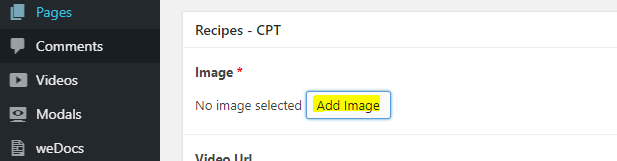
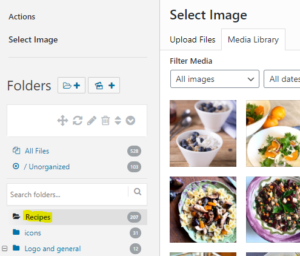
5. Upload the image of the recipe. When uploading, ensure that the ‘Recipes’ folder has been selected (highlighted in yellow below) before you drag and drop the image into the upload field.
6. Add the Description of the recipe.
7. Add the Serving Size of the recipe.
8. Add the Number of Servings of the recipe. Do note for cookies, tacos, muffins and cupcakes, specify exactly how many can be made so that it is less confusing for users. (e.g. Makes: 12 muffins)
9. Add the ingredients of the recipe. Be sure that there is one line of space between each ingredient.
10. Add the appropriate numerical value for Prep Time and Cook Time in minutes. No units are required and the system will automatically convert the entered value into the format of ‘hr and mins’.
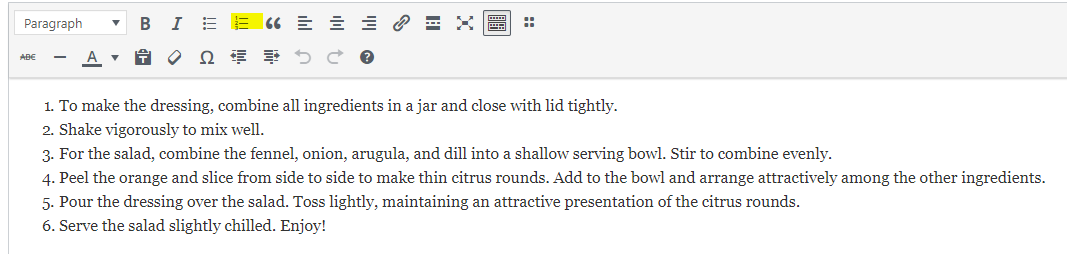
11. Add the instructions of the recipe. You do not need a line of space between each instruction item. Use the number bullets function highlighted in yellow.
12. Under “Cooking Tip”, add a tip that was outlined in the recipe.
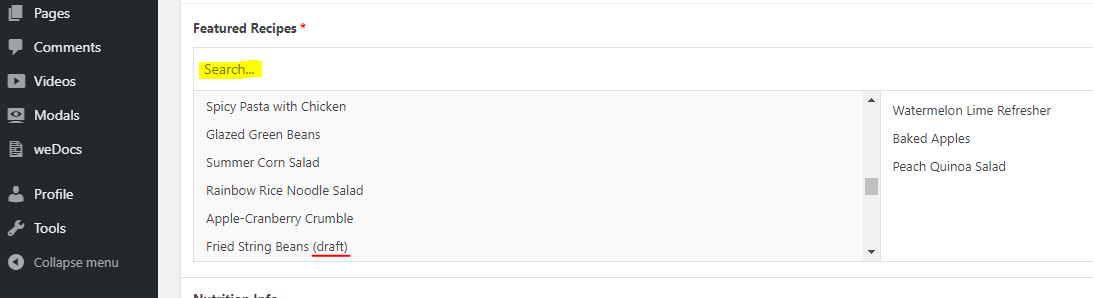
13. In the “Featured Recipes” section, choose/ search for three recipes that you believe are like the current recipe you are uploading. If you are not sure, choose similar lunch, dinner, or snack options. Do not add those with ‘(Draft)’ or ‘(Pending)’ at the end of their names. An example is underlined in red.
14. Under “Credit”, state the contributor of the recipe (e.g. Recipe contributed by FamilyCook Productions).
15. Under “Credit Link”, paste the link that should be tied to the contributor, if any.
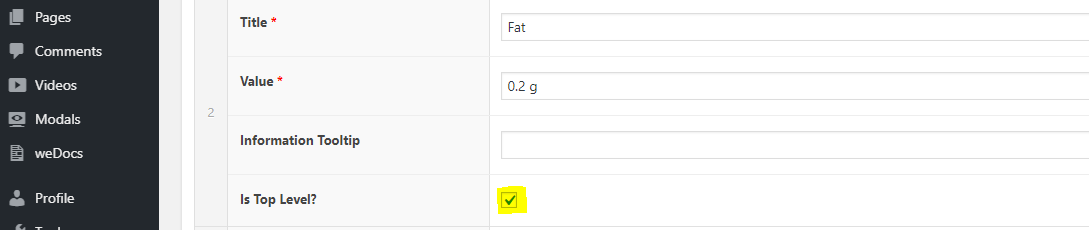
16. In the “Nutrition Info”, add a row for each nutrition item that is listed out in the recipe in the order: Calories, Fat, Saturated Fat, Trans Fat, Cholesterol, Carbohydrates, Sugar, Fiber, Protein, Sodium, Calcium, Phosphorus and Potassium. Keep a space between the numerical value and the units of measurement (i.e., 405 g, 4 mg, etc). There is no need to add the units for calories. Do not enter anything for Information Tooltip. Check “Is Top Level?” if the nutrition item is one of the following: Calories, Fat, Protein, Sodium, Carbohydrate, Phosphorus and Potassium.
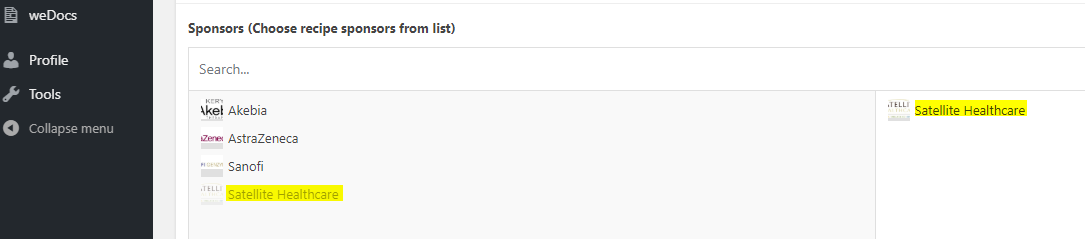
17. Select the appropriate sponsors if applicable on the left and it should appear on the right, as highlighted in yellow.
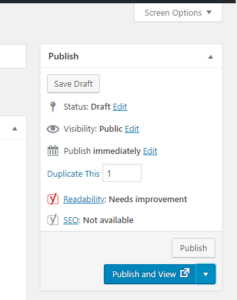
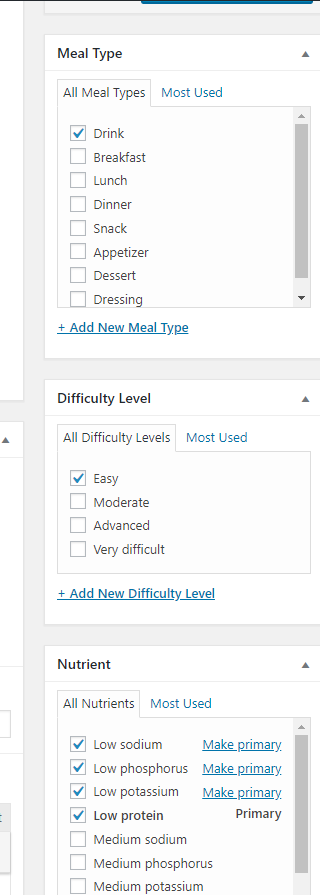
18. Scroll back to the top right of the page and check the boxes for the following (note that this should have already been tagged in the form of a comment in the recipe document you are referencing): Meal Type, Difficulty Level, Nutrient, Collection, Dietary Requirement.
19. Click ‘Publish’ to make your recipe live.